Web Development Company India » Email Configuration for Microsoft Outlook Express
| | Email configuration for Microsoft Outlook Express | | | Step 1 | • Open Microsoft Outlook Express.
• NOTE: If this is the first time you have used Outlook Express, you will be presented with a setup wizard. If so, skip to Step 4. | | | | | | | | Step 2 | 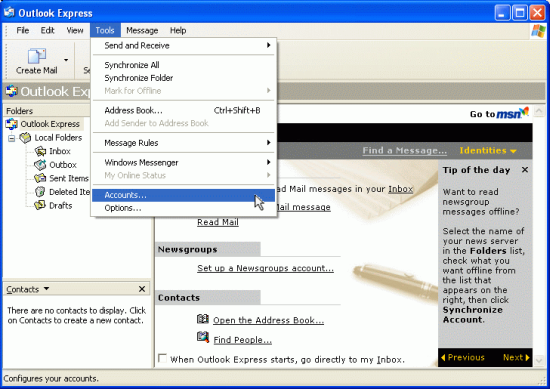 | | Figure 1: Accessing 'Accounts' from the menu | | | | | | Step 3 | | • Click on the Add button, then click on Mail… | 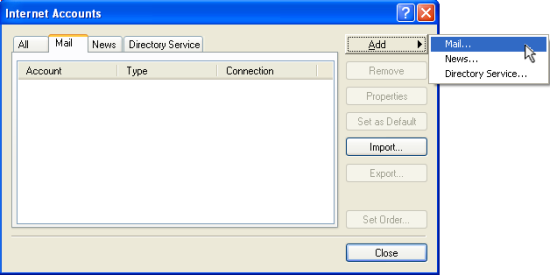 | | Figure 2: The Add Mail menu | | | | | | Step 4 | • In the Display name field, type your given name or business name – this is how your name appears when people receive email from you.
• Click Next. | 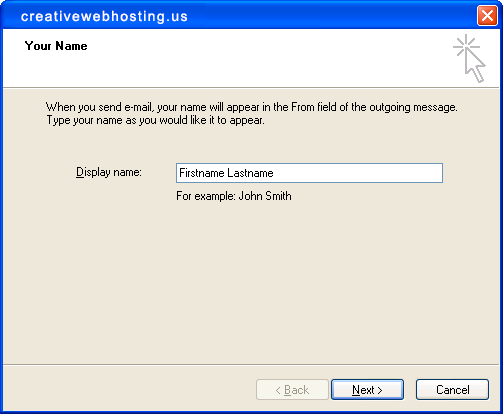 | | Figure 3: Entering your name in the 'Display Name' field | | | | | | Step 5 | | • In the E-mail address field, type your Creative email address, e.g., emailid@yourdomain.com and click Next. | 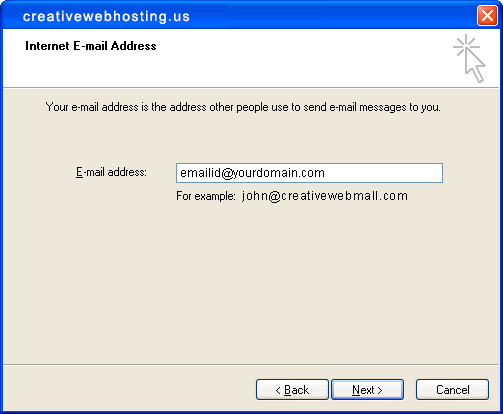 | | Figure 4: Entering your email address | | | | | | Step 6 | • Select IMAP for My incoming mail server is a menu item.
• In the Incoming mail (POP3) or (SMTP) server: field, type email.creativewebhosting.us
• In the Outgoing mail (SMTP) server: field, type email.creativewebhosting.us, then click Next. | 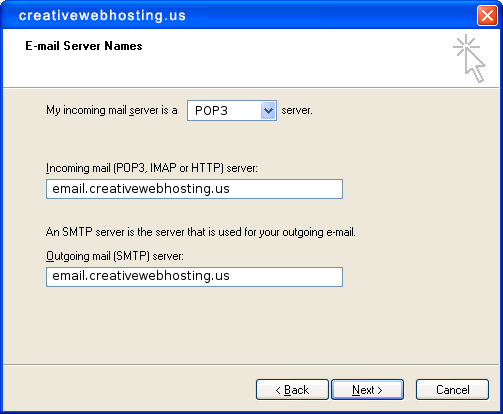 | | Figure 5: Entering incoming and outgoing server information | | | | | | Step 7 | • In the Account name field, type your Internode username or mail account name (emailid@yourdomain.com). Do not include @creativewebmall.com on the end of your username.
• In the Password field, type in the password for your username, then click Next . | 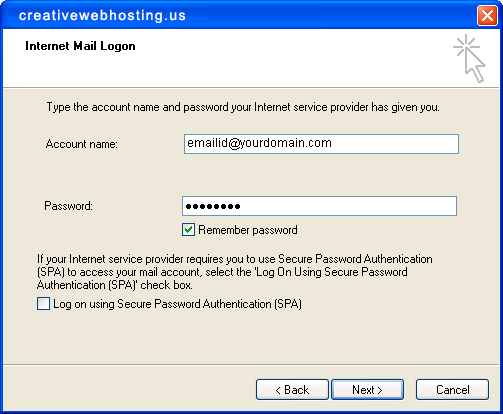 | | Figure 6: Account login information | | | | | | Step 8 | | • Click on the Finish button to complete the connection wizard. | 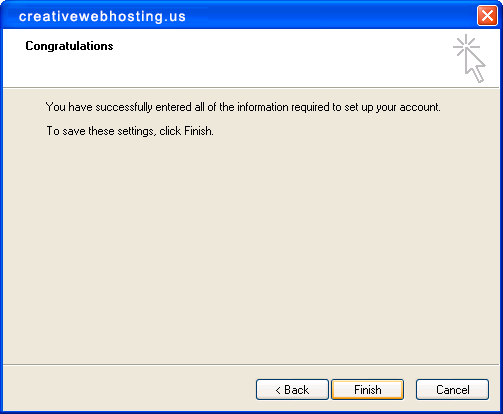 | | Figure 7: The end of the connection wizard | | | | | | Step 9 | • Outlook Express will display the Internet Accounts screen. You should see your new email account set up: mail.internode.on.net.
• Click Properties. | 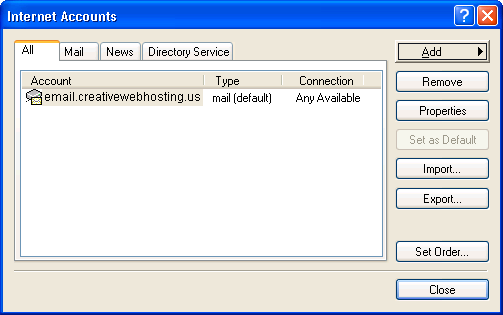 | | Figure 8: Accessing Properties | | | | | | Step 10 | | • You will be taken to the Properties screen. Click on Servers at the top of the window. | 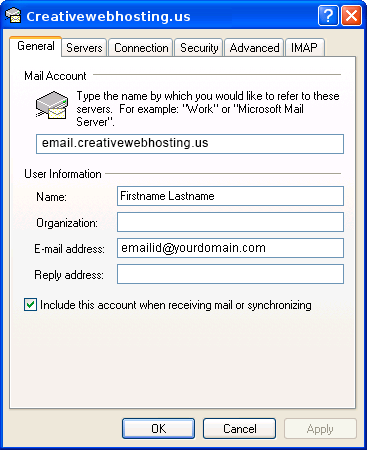 | | Figure 9: Main Properties page | | | | | | Step 11 | • You should see the server settings for your account.
• Click the tick box next to My server requires authentication.
• Click the Settings button. |  | | Figure 10: Server properties | | | | | | Step 12 | • Check that Use same settings as my incoming mail server is selected.
• Click OK to return to the Properties window. |  | | Figure 11: Outgoing server authentication | | | | | | Step 13 | • Click Advanced at the top of the screen.
• Underneath Outgoing mail (SMTP): uncheck the box next to This server requires a secure connection (SSL).
• Underneath Incoming mail (POP3): uncheck the box next to This server requires a secure connection (SSL).
•Next to Outgoing Mail (SMTP): change the number to 25 .
• Next to Incoming Mail (POP3): change the number to 110. | 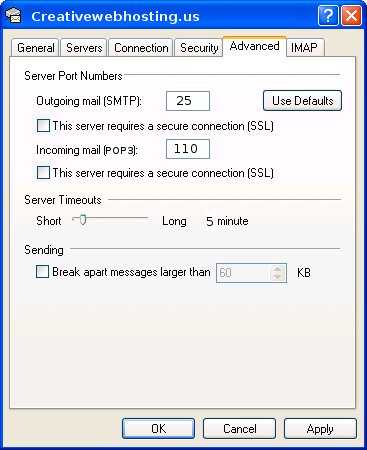 | | Figure 12: Advanced server settings |
| | | | |
|